Blog
The blog module is primarily used to display structured content (blog posts) in a common page. Posts can be filtered by category in the overview. Usually, for its use, a parent (general) page is created where the module is inserted. Subpages are then created for each blog post.
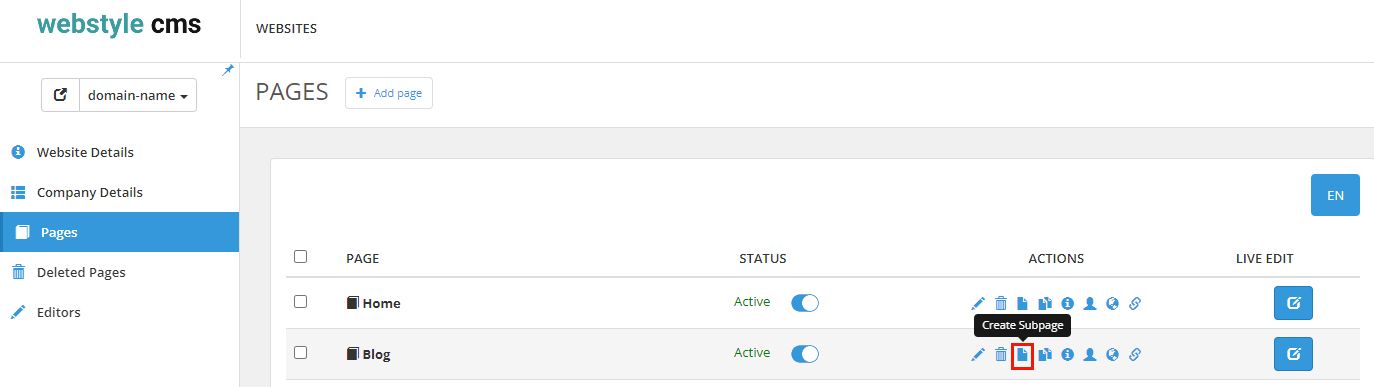
Let's take a look at how to create a subpage. The Pages tab contains a list of all the pages on our website. You choose a parent page (Blog). To create a subpage, choose a parent page (e.g., Blog) and click on the third icon, 'Create Subpage,' in the 'Actions' section.
Then the following window opens in the right part of our screen:

We fill in the data for the new page and save. It is important to mention that the SEO title and description are recommended to be meaningful and not empty. This is important for the SEO optimization of your site.
(Note: The Page Filename field is automatically filled in unless you want the page to be named differently.)

After creating a subpage for the post, we need to fill in the content. We open the newly created page in "Live Edit" from the "Open in Live Edit" button.
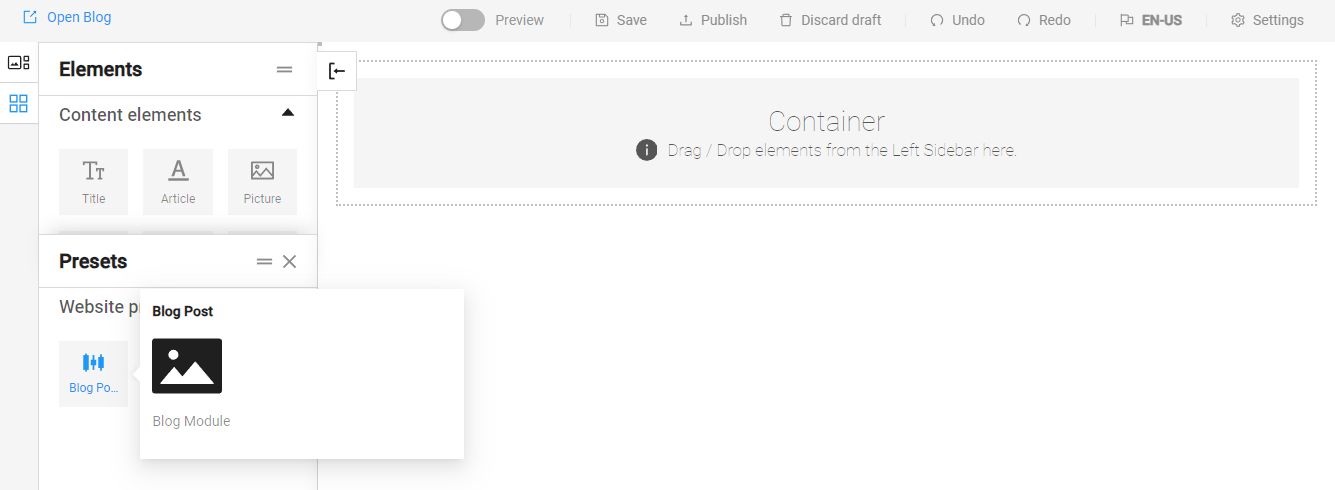
The next step is to drag the template structure prepared for us. On the left side of the screen there is a "Presets" menu. This menu previews the ready-made structures for our website.
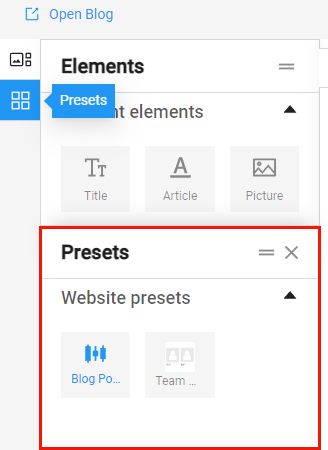
We choose our blog post structure and drag it into the container.
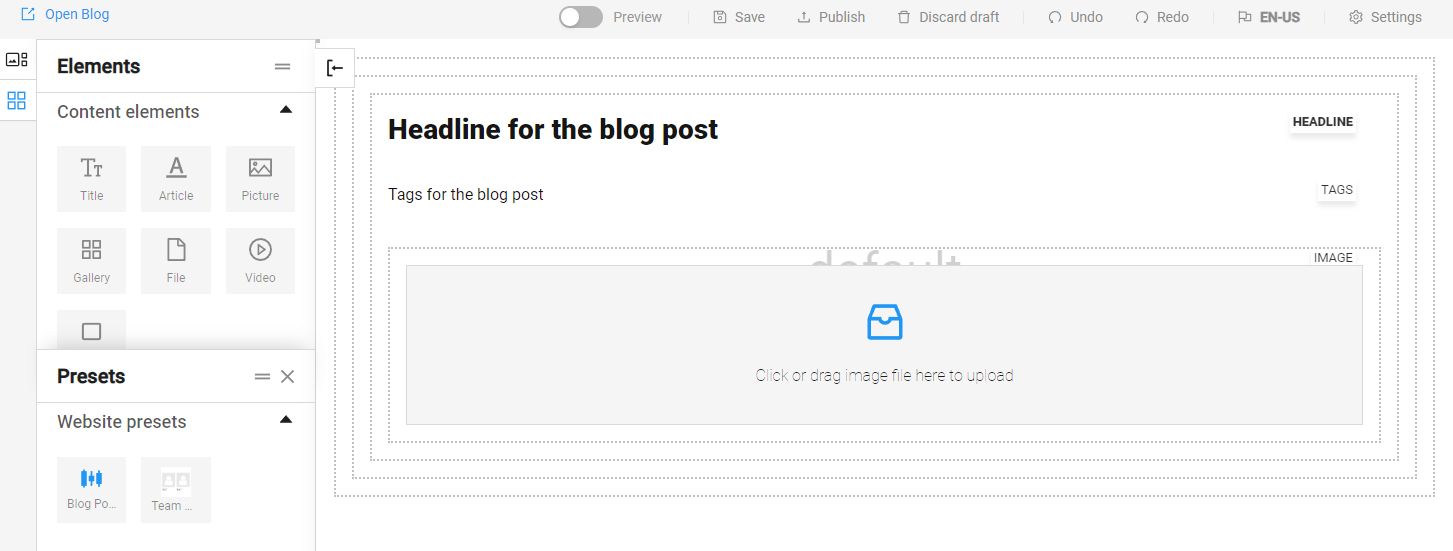
The last step is to fill in the necessary information - title, keywords, photos.
(Note: This structure and information may be different, depending on what you want included in the blog post.)
Let's look at the final result on our published web page.

The displayed information can be changed and formatted according to the customer's needs and wishes.
