Live edit
First steps
The content of each page can be accessed from Pages -> Live Edit.
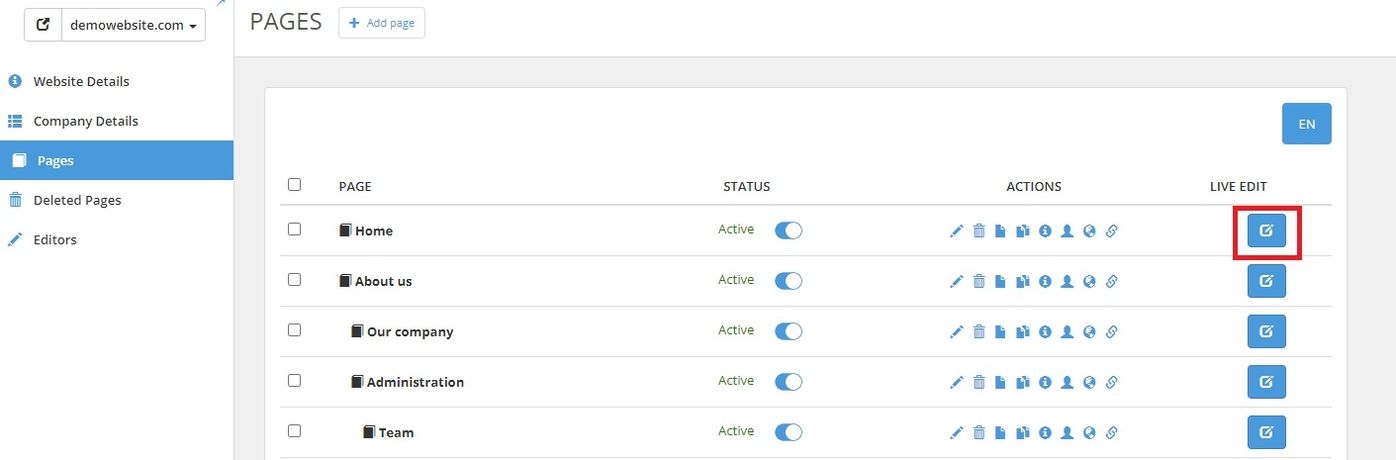
After clicking the button, a new tab opens in the browser, where we can directly edit the content of the page.
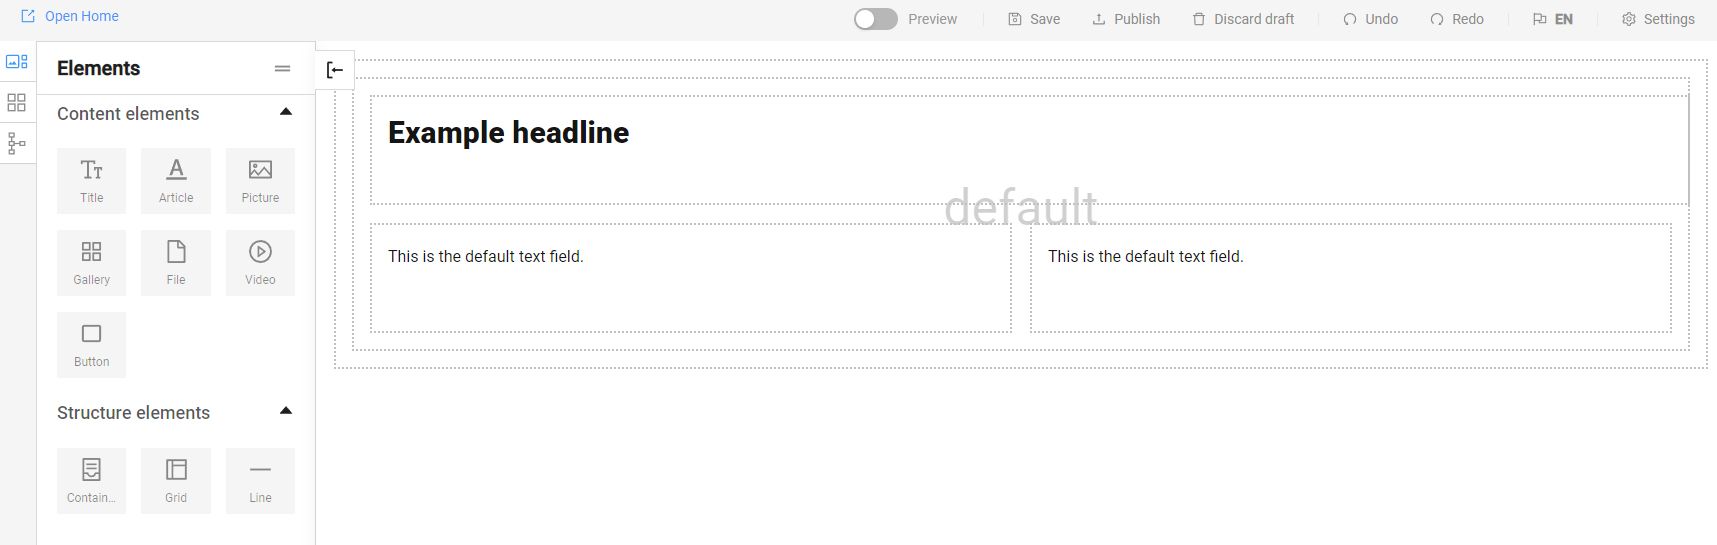
In the left part are the Elements and Presets that we can add to the website.
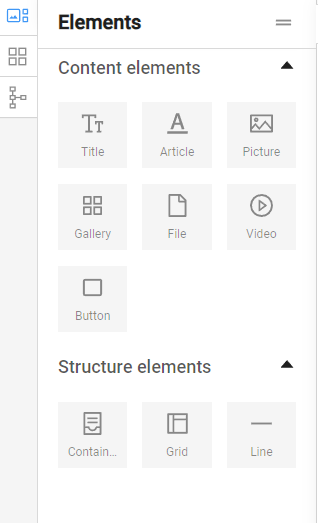
The Elements are divided into Content elements and Structure elements. Content elements include Title, Article, Picture, Gallery, File, Video, and Button. Structure elements include Container, Grid, and Line and help us organize and arrange the content on the page.
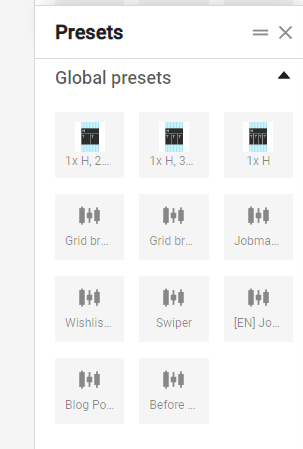
Presets are structures of elements that are ready-made for the needs of our website.
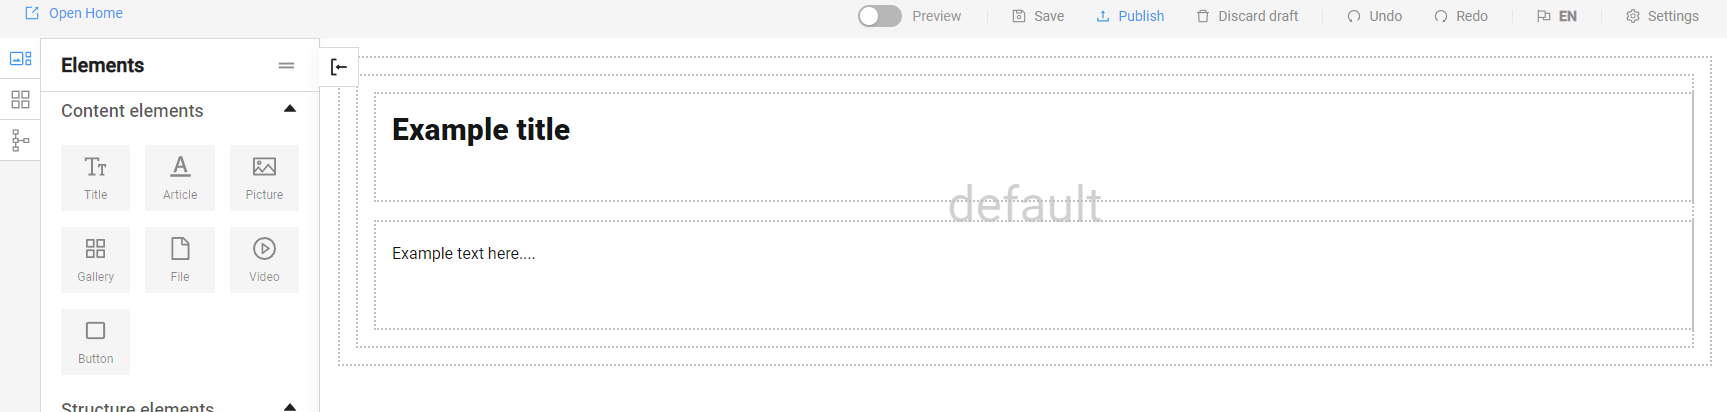
In the central part of the screen is the content of our website, where we can add and edit content:

Add elements to the page
Elements can be added to the content by dragging and dropping.
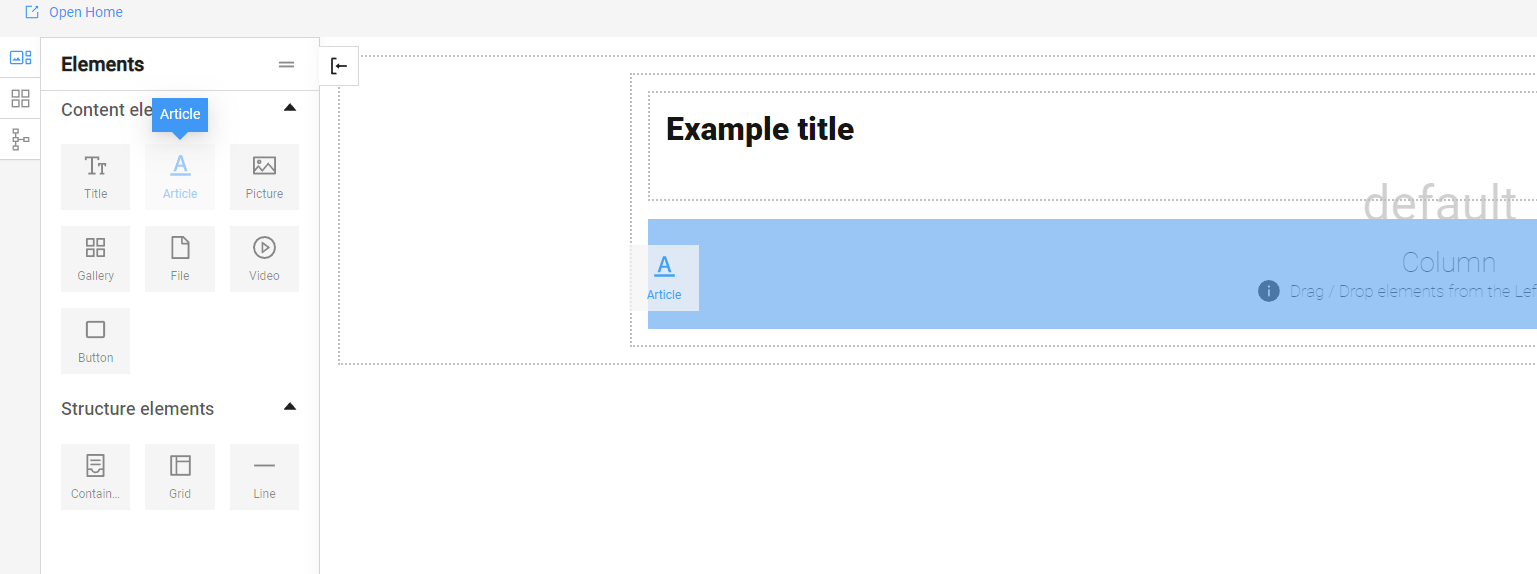
1. Select the element you want to add, for example, Article:
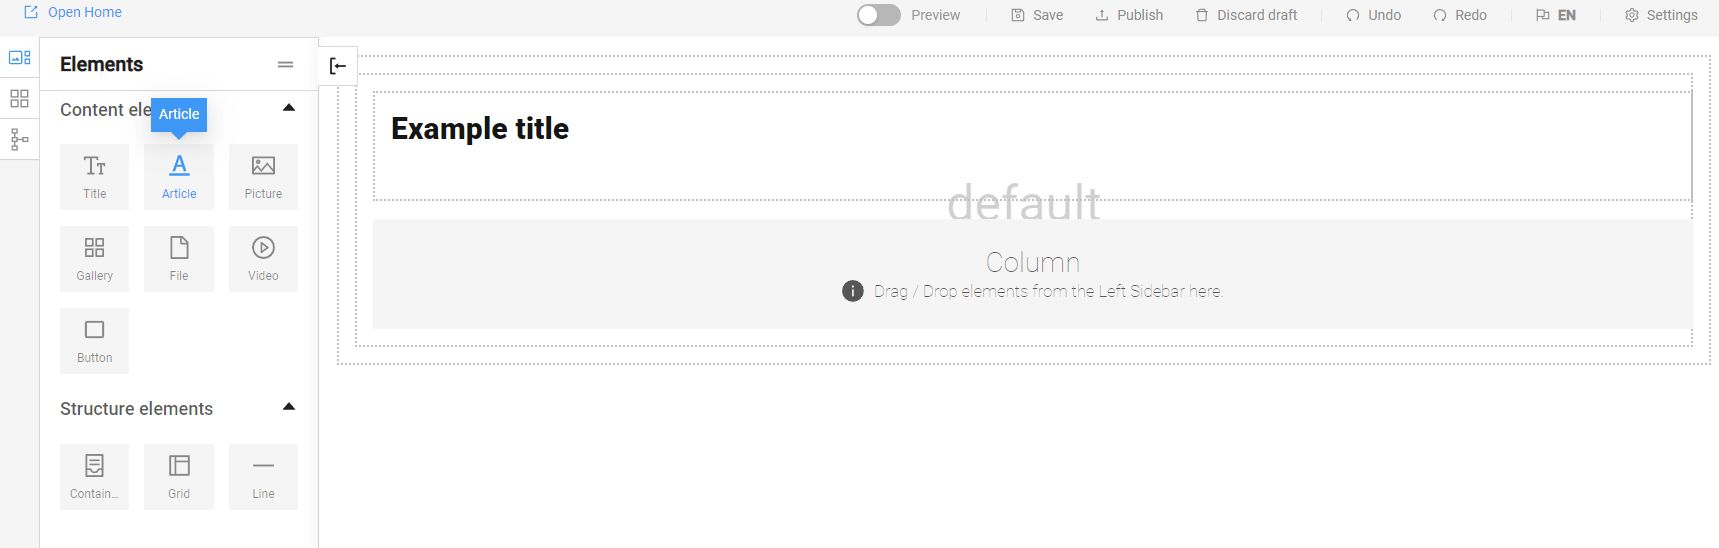
2. Drag the element to the location on the webpage where you want to place it. The blue color indicates the exact position where you can drop the element.
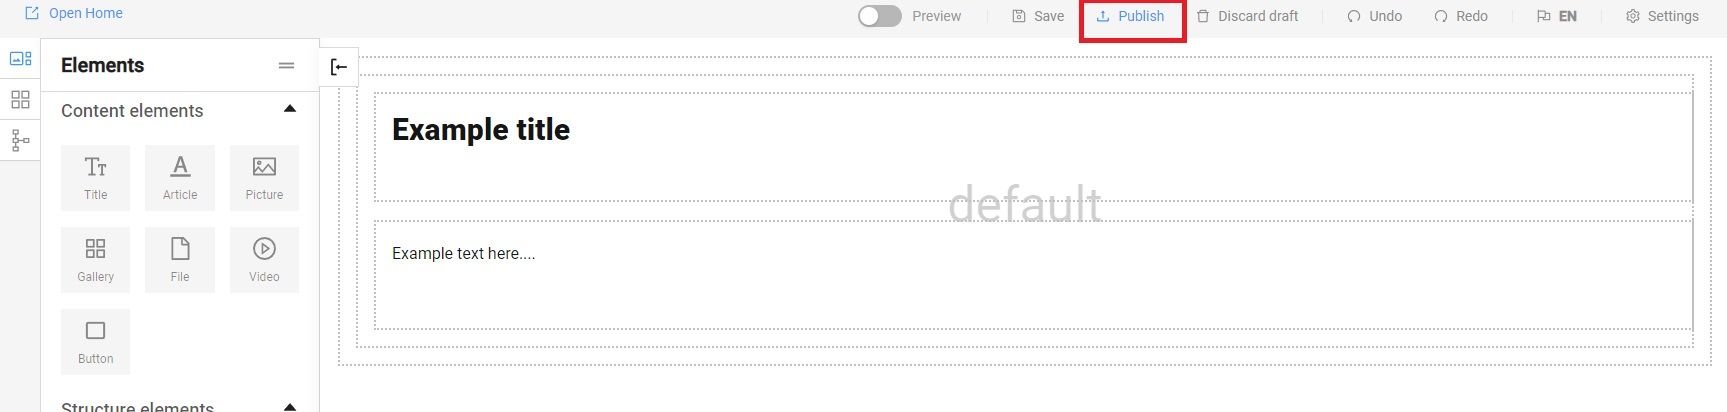
Publish a page
To apply the changes we have made, we need to publish the page. This is done through the Publish button:
Actions with Elements
Each element has various options, with the common ones being:
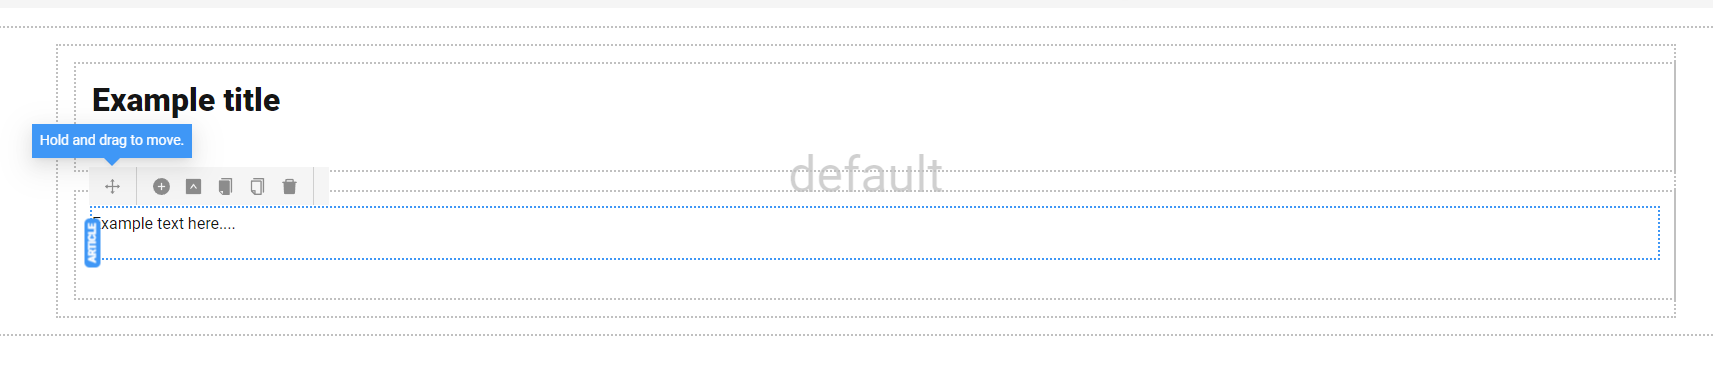
Move elements
We can change the position of the element on the website by selecting the move button and placing it in the desired location through dragging:
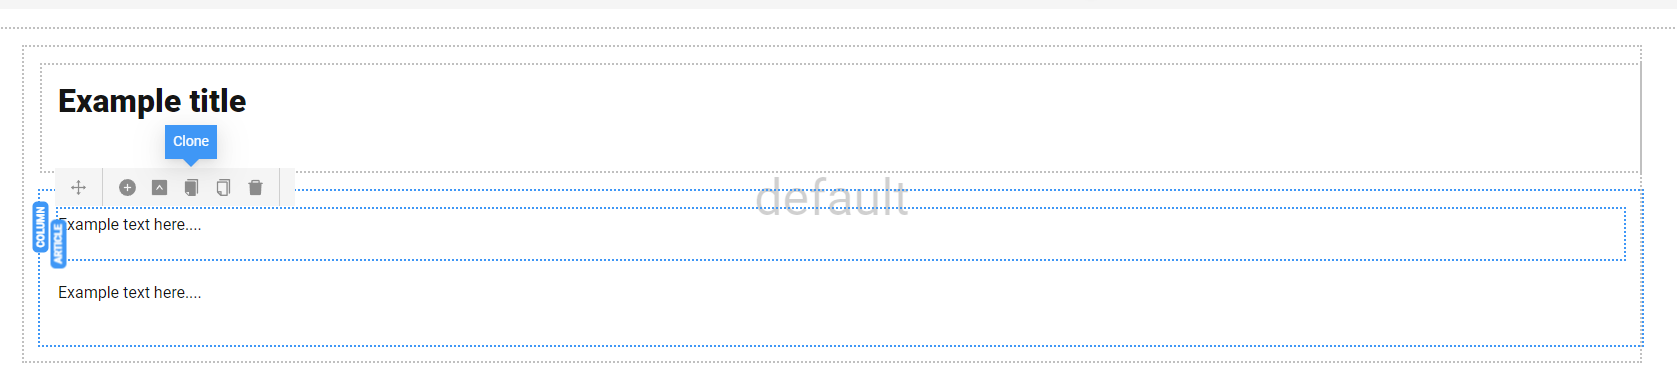
Clone elements
All elements along with their content can be cloned using the clone button:
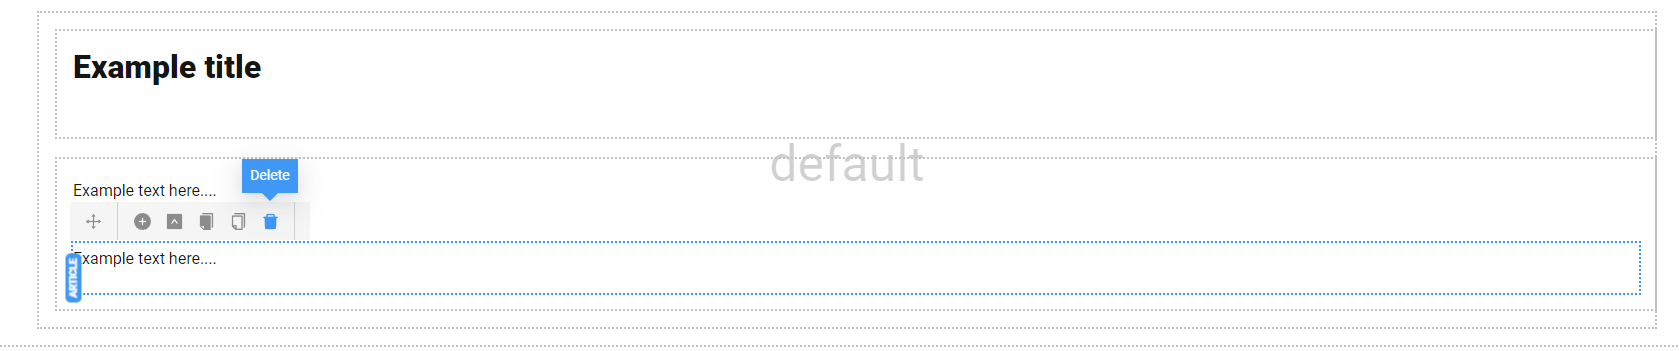
Delete elements
Elements can be deleted using the delete button: